A fan capacitor plays a crucial role in the proper functioning of electric fans, ensuring smooth motor operation and efficient performance. If your fan is not starting, running slowly, or making a humming noise, a faulty capacitor might be the culprit.
In this article, we will discuss how to test a fan capacitor, common issues, and replacement steps to help you troubleshoot and fix the problem effectively.
What is a Fan Capacitor?
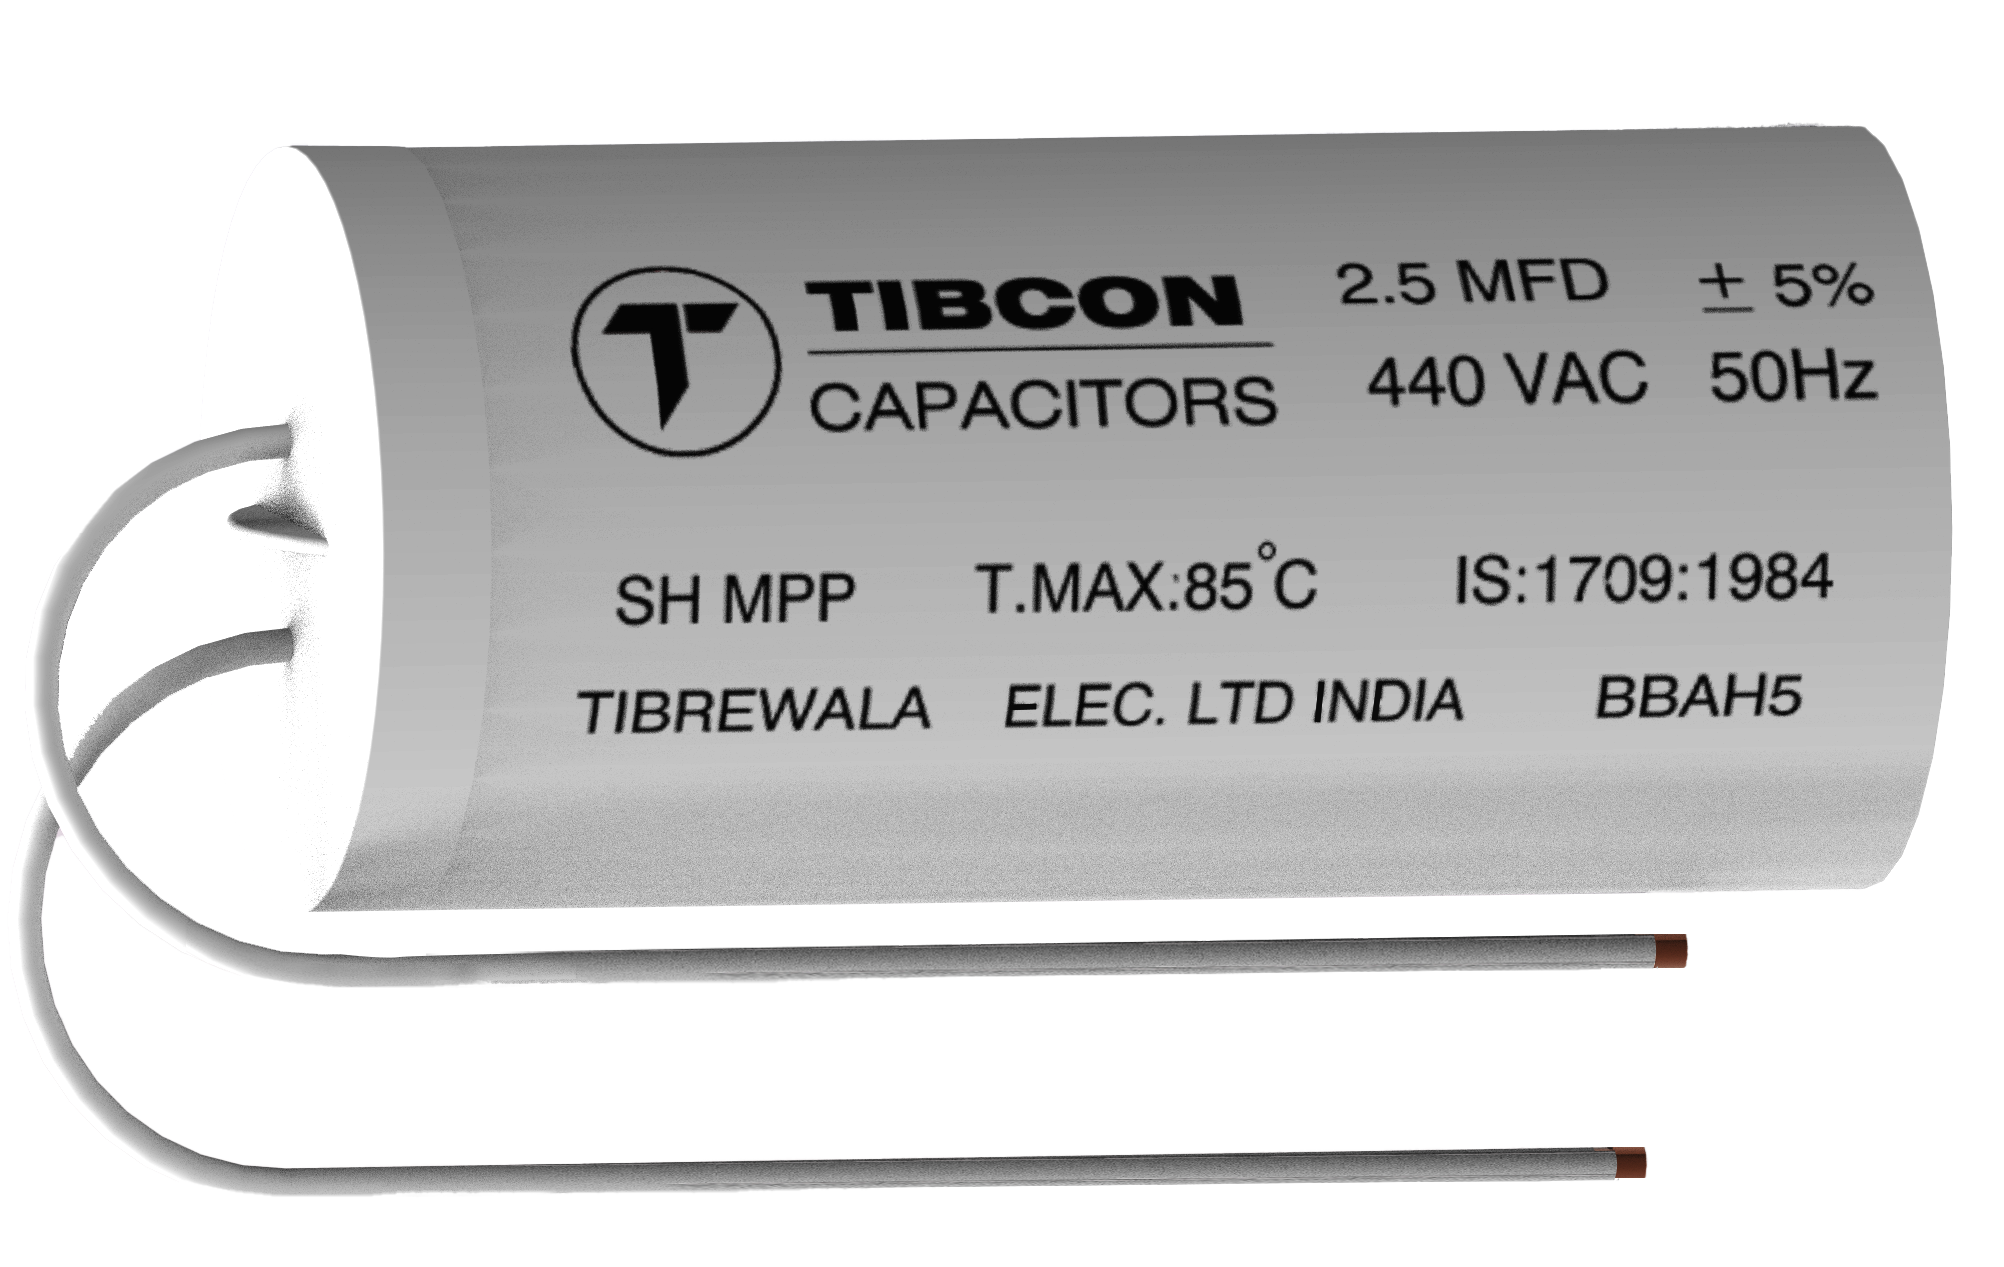
for Test a Fan Capacitor – A fan capacitor is an electrical component that helps in starting and running the fan motor. It stores and releases electrical energy to provide the necessary phase shift for motor operation. Without a working capacitor, a fan may fail to start or run inefficiently.
Types of Fan Capacitors
- Start Capacitor: Provides an initial boost to start the motor.
- Run Capacitor: Helps maintain continuous motor operation.
- Dual Capacitor: Combines both start and run functions in a single unit.
How to Test a Capacitor – A Step-by-Step Guide 2025
Signs of a Faulty Fan Capacitor
If your fan is not working correctly, watch for these symptoms:
- The fan does not start at all.
- The fan runs slower than usual.
- The motor produces a humming noise.
- The fan starts only when pushed manually.
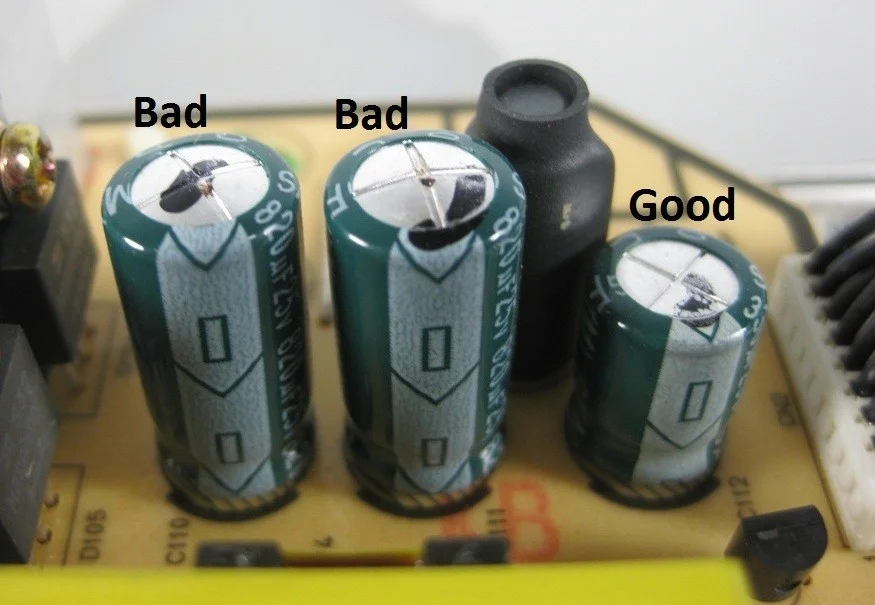
- The capacitor casing appears swollen or damaged.
- how to test a ceiling fan capacitor
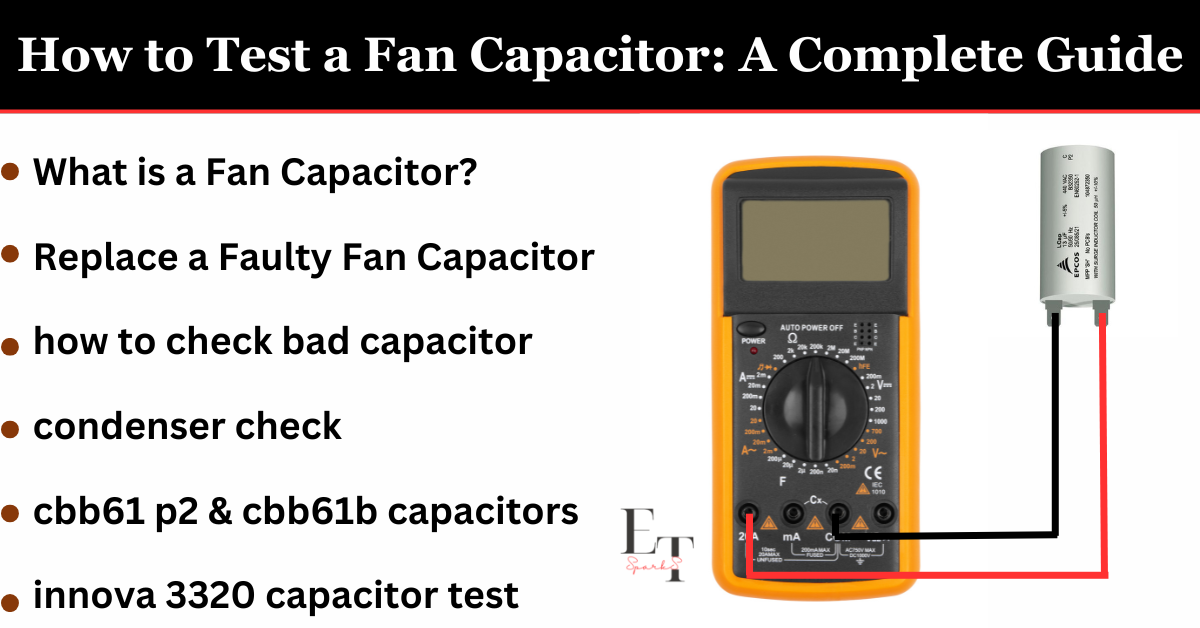
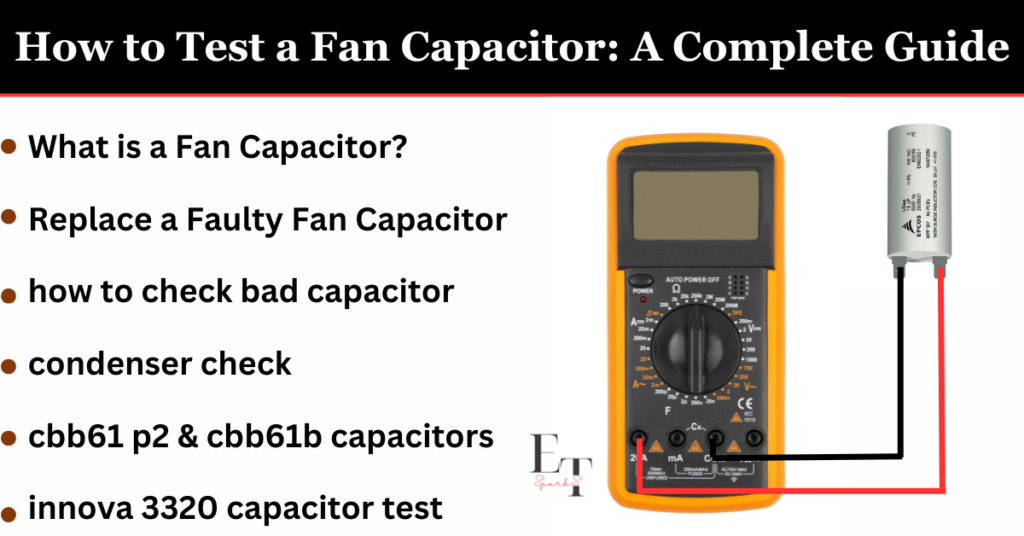
Testing a fan capacitor is simple and can be done using a multimeter or a capacitor tester.
1. Safety Precautions
Before testing, ensure safety by:
- Turning off the power supply to the fan.
- Discharging the capacitor using an insulated screwdriver.
- Wearing insulated gloves for protection.
2. How to Test a Fan Capacitor with a Digital Multimeter
- Set the Multimeter: Turn the dial to the capacitance setting (μF or MFD).
- Disconnect the Capacitor: Carefully remove the capacitor from the circuit.
- Connect the Probes: Attach the multimeter leads to the capacitor terminals.
- Read the Value: Compare the reading with the rated capacitance printed on the capacitor. If the reading is significantly lower or shows zero, the capacitor is faulty.
3. How to Test a Fan Capacitor Using an Analog Multimeter
- Set to Resistance Mode: Adjust the meter to the Ohm (Ω) setting.
- Connect the Probes: Place the probes on the capacitor terminals.
- Observe the Needle Movement: A good capacitor will cause the needle to move slightly and return to infinity. If the needle does not move, the capacitor is bad.
4. How to Test a Capacitor Without a Multimeter – how to check capacitor is working or not without multimeter
If you don’t have a multimeter, you can still check the capacitor by:
- Listening for a Humming Sound: A failing capacitor may cause the motor to hum but not start.
- Manual Start Method: Spin the fan blades manually—if the fan starts running, the capacitor may be faulty.
- Visual Inspection: Look for swelling, leaking, or burn marks on the capacitor.
5. Testing a Capacitor in Circuit
To test a capacitor in circuit:
- Use a Multimeter with a Capacitance Function: Place probes on capacitor terminals.
- Check for a Steady Reading: If the value is significantly lower than the rated capacitance, the capacitor is faulty.
- Observe Fan Behavior: If the fan struggles to start or runs slowly, the capacitor may need replacement.
How to Replace a Faulty Fan Capacitor
Test a Fan Capacitor – If testing confirms a faulty capacitor, follow these steps to replace it:
- Turn Off the Power: Disconnect the fan from the power source.
- Locate the Capacitor: Open the fan housing to find the capacitor.
- Remove the Old Capacitor: Take a picture for reference and disconnect the wires.
- Install the New Capacitor: Match the specifications and connect the wires correctly.
- Reassemble and Test: Turn on the fan and check if it operates smoothly.
How to Replace a Faulty Fan Capacitor
How to Test a Capacitor Using an Analog Multimeter – how to check bad capacitor with multimeter
how can i test a capacitor with a multimeter – Testing a capacitor with an analog multimeter is simple and helps check if the capacitor is working properly. Follow these steps:
- Set the Multimeter – Turn the multimeter dial to the Ohm (Ω) setting, preferably a higher resistance range (like ×1k or ×10k).
- Discharge the Capacitor – Before testing, make sure the capacitor is fully discharged. You can do this by connecting both capacitor leads to a screwdriver with an insulated handle or using a resistor.
- Connect the Probes – Place the red probe on the positive terminal and the black probe on the negative terminal of the capacitor.
- Observe the Needle Movement – When you connect the probes, the needle on the multimeter should first move toward zero (low resistance) and then gradually go back toward infinity (high resistance). This indicates that the capacitor is charging, meaning it is in good condition.
- Check for Faults – If the needle stays at zero, the capacitor is shorted. If the needle does not move at all, the capacitor is open and not working.
For a step-by-step video demonstration, watch this YouTube video:
This method helps identify faulty capacitors quickly using an analog multimeter.
How to test a capacitor without a multimeter / condenser check
If you don’t have a multimeter, you can still check if a capacitor is working using simple tricks. Here’s how:
1. Look for Damage
Check if the capacitor is swollen, leaking, or burned. If it looks damaged, it is probably bad.
2. Battery and Bulb/LED Test
- Take a small battery (like a 9V battery).
- Connect the capacitor’s positive and negative sides to the battery for a few seconds.
- Remove the capacitor and touch its leads to a small bulb or LED.
- If the bulb or LED blinks quickly, the capacitor is storing charge. If nothing happens, it may not be working.
3. Spark Test (For Big Capacitors)
- Charge the capacitor using a battery.
- Remove it and touch both ends with a screwdriver (with an insulated handle).
- If you see a small spark, the capacitor is holding charge. If there is no spark, it might be faulty.
4. Swap with a Working Capacitor
- If you have another capacitor of the same type, replace the one you suspect is faulty.
- If the circuit works fine after replacing, the old capacitor was likely bad.
These simple tricks can help you check a capacitor at home without special tools. If you’re unsure, it’s best to replace the capacitor with a new one.
How Do I Know If My Fan Capacitor Is Bad?
Test a Fan Capacitor – how to check capacitor is working or not without multimeter – A fan capacitor plays a crucial role in starting and running your fan motor efficiently. If your fan is acting up, a bad capacitor could be the cause. Here are signs your fan capacitor might be faulty:
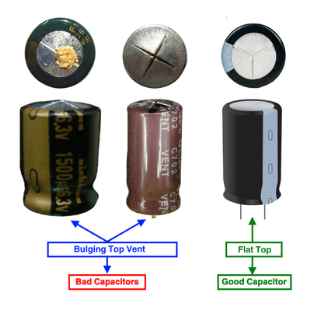
- Fan Doesn’t Start or Runs Slowly: If the fan struggles to start or runs at a slower speed, the capacitor may not be providing enough power.
- Strange Noises: Humming or buzzing noises often indicate a failing capacitor.
- Physical Damage: Bulging, leaking, or burn marks on the capacitor show it’s time to replace it.
- Fan Stops Early: If the fan turns off shortly after starting, the capacitor is likely failing to keep the motor running.
- Power Surges or Flickering Lights: Electrical issues when the fan operates suggest a bad capacitor.
Capacitors fail due to age, overheating, power surges, or poor maintenance. To test if your capacitor is bad, use a multimeter to check its capacitance; a significant drop in value means it needs replacing. You can also look for visible damage.
Replacing a Faulty Capacitor involves turning off the power, removing the fan cover, and disconnecting the old capacitor. Once you replace it with a new one, reconnect the wires and test the fan.
Ignoring a bad capacitor can cause poor fan performance and may damage other components. To extend the life of your capacitor, clean the fan regularly, ensure a stable power supply, and consider professional inspections.
In conclusion, a faulty capacitor can significantly affect your fan. Regular checks and timely replacements will keep your fan running smoothly.
how to replace a capacitor in a ceiling fan
Replacing a capacitor in a ceiling fan is a straightforward task that you can do with a few simple steps. Here’s a guide to help you replace the capacitor safely and effectively:
1. Switch off the power
Test a Fan Capacitor – Before starting any work, make sure the power is turned off. This can be done by switching off the fan at the wall switch or turning off the power from the circuit breaker. Ensuring the power is off will prevent any electrical accidents.
2. Remove the fan blades and housing
Use a screwdriver to remove the fan blades and housing, giving you access to the motor. Some fans have a cover that you may need to remove first. Taking off the blades and any coverings will help you see the capacitor clearly.
3. Find the capacitor
Once the motor housing is exposed, locate the capacitor. It’s usually a small cylindrical or rectangular part, often connected to the motor’s wires. Depending on the fan model, you may need to remove a few screws to fully access it.
4. Disconnect the wires
Before removing the old capacitor, make a note of where each wire is connected. Taking a picture or drawing a diagram can be helpful. Then, disconnect the wires from the old capacitor carefully.
5. Install the new capacitor
Take your new capacitor and connect it to the same wires in the same way as the old one. Ensure the connections are secure to prevent any loose connections. Double-check that the new capacitor matches the original in terms of voltage and capacitance ratings.
6. Reassemble the fan
Once the new capacitor is installed, reattach the fan blades and motor housing. Ensure that all screws are tightened and everything is properly in place.
7. Test the fan
Now that everything is reassembled, turn the power back on and check if the fan is working as expected. The fan should start running smoothly. If not, recheck the wiring and the capacitor’s connection to ensure everything is correctly installed.
By following these simple steps, you can replace the capacitor in your ceiling fan and restore it to its proper working condition. Always be careful when dealing with electrical components to ensure safety.
what would you use to check a capacitor that’s discharging
To check a capacitor that’s discharging, you can follow these steps using basic tools to ensure it’s functioning properly:
1. Turn off the power
Before checking the capacitor, always ensure the power is off to avoid electrical hazards. Disconnect the power supply to the capacitor or turn off the circuit breaker.
2. Use a multimeter to check the voltage
Set your multimeter to measure DC voltage and connect the probes to the capacitor’s terminals. If the capacitor is discharging, you should observe the voltage dropping over time. A good capacitor should show a slow, steady decrease in voltage as it discharges.
3. Use a capacitance meter
If you have a capacitance meter, you can use it to directly measure the capacitor’s capacitance. After it discharges, compare the reading to the capacitor’s rated value. If the capacitance is much lower, it indicates the capacitor is faulty.
4. Monitor the discharge rate
If the capacitor is discharging too quickly, it may indicate an issue. You can observe this by measuring the voltage at intervals with a multimeter or a data logger to check how fast the voltage drops.
5. Check with an ESR meter
An ESR (Equivalent Series Resistance) meter can help you evaluate the capacitor’s internal resistance. A high ESR value could indicate that the capacitor is not discharging properly and may need replacement.
By using these tools, you can easily check if a capacitor is discharging as expected and determine if it’s functioning correctly.
Changing a capacitor on an ac unit
Here’s a rephrased version with similar quality and simple language:
How to Replace a Capacitor in Your Air Conditioner
If your air conditioner isn’t working right, a bad capacitor could be the problem. Here’s how to change it:
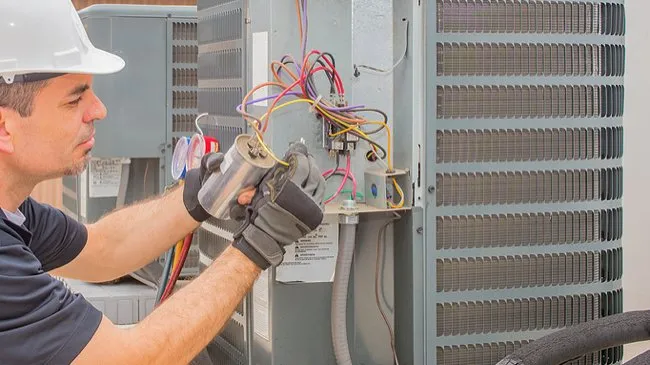
- Switch Off the Power – Always start by turning off the power to the AC at the main circuit breaker to stay safe from electric shock.
- Find the Capacitor – Open the cover on the outdoor unit. The capacitor will look like a small metal can or oval shape, with wires attached to it.
- Discharge the Capacitor – Use an insulated screwdriver to touch both terminals of the capacitor. This will safely discharge any stored electricity inside.
- Disconnect the Wires – Take a picture of how the wires are connected for reference, then use pliers to carefully disconnect the wires from the capacitor.
- Install the New Capacitor – Check that the new capacitor has the same voltage and microfarad (µF) rating as the old one. Put the new capacitor in place and reconnect the wires according to the picture you took earlier.
- Close the Access Panel and Turn Power On – Once everything is connected, close the panel properly and turn the power back on.
- Test the AC – Turn the air conditioner on and check if it’s working properly. If there are still issues, you may need to call in a professional.
With these steps, you can replace the faulty capacitor and get your air conditioner working again.
cbb61 p2 capacitor Vs cbb61b capacitor
Here’s a comparison between the CBB61 and CBB61B capacitors in table format:
| Feature | CBB61 Capacitor | CBB61B Capacitor |
|---|---|---|
| Purpose | General-purpose capacitor for motors and appliances | Enhanced performance for motors and appliances |
| Applications | Single-phase motors, fans, air conditioners, household appliances | Higher-efficiency motors, HVAC, appliances with demanding conditions |
| Durability | Standard durability | Better durability and reliability |
| Performance | Suitable for standard motor applications | Improved performance, higher tolerance to wear |
| Temperature Resistance | Standard range of temperature tolerance | Improved insulation and temperature resistance |
| Voltage Tolerance | Standard voltage range | Higher voltage tolerance in some cases |
| Insulation | Standard insulation | Enhanced insulation for longer life |
The CBB61B typically offers better performance and durability, making it suitable for more demanding applications compared to the standard CBB61 capacitor.
innova 3320 capacitor test
The Innova 3320 is a digital multimeter that can be used to test capacitors. Here’s a simple guide to test a capacitor with it:
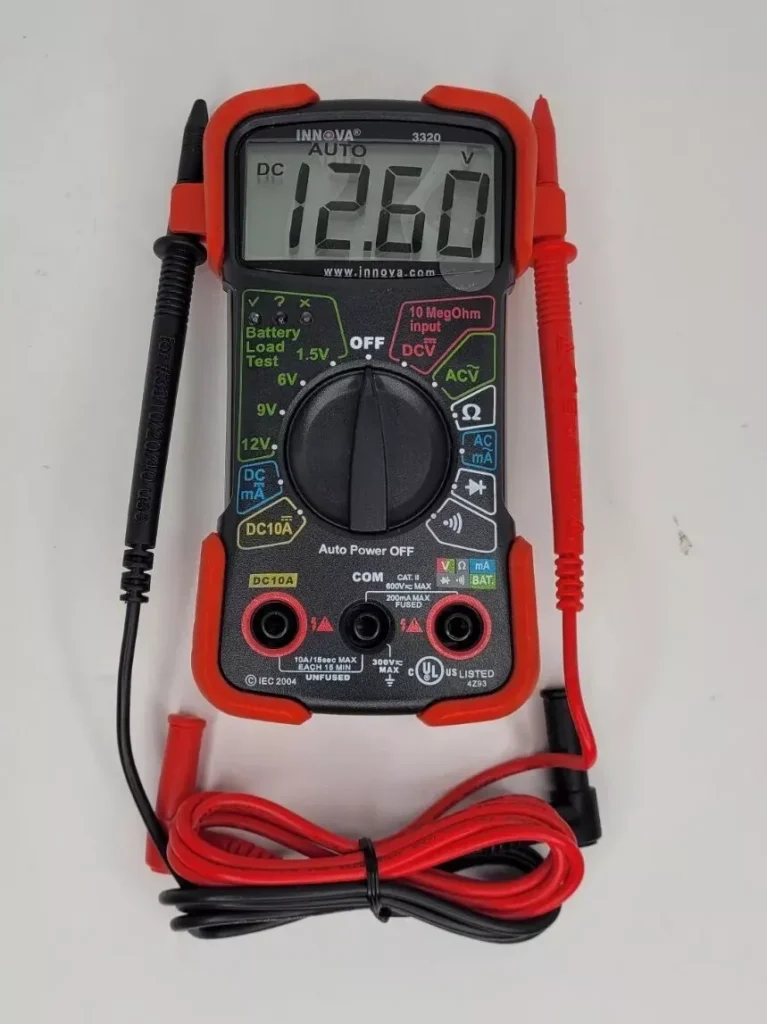
- Turn off the power: Always make sure the power is off to avoid accidents.
- Discharge the capacitor: Use a resistor to release any stored energy in the capacitor.
- Set the multimeter to capacitance mode: The Innova 3320 has a setting for measuring capacitance (marked with a “C”).
- Connect the probes: Attach the probes to the capacitor terminals (positive to positive, negative to negative).
- Check the reading: Compare the reading to the capacitor’s rating. If the reading is much lower, the capacitor might be faulty.
- Look for any physical damage: If the capacitor shows signs like bulging or leakage, it needs replacement.
With these steps, you can easily check if a capacitor is working properly!
Additional Tips for Testing and Replacing Capacitors
- Always ensure that the new capacitor has the same capacitance rating as the old one.
- Check the voltage rating of the capacitor before purchasing a replacement.
- If you frequently experience capacitor failures, check for voltage fluctuations in your power supply.
- Avoid using a capacitor with a different capacitance value, as it can damage the fan motor.
- If the fan motor itself is damaged, replacing the capacitor may not resolve the issue.
Frequently Asked Questions (FAQs)
Can I run a fan without a capacitor?
No, a capacitor is essential for starting and running the fan motor efficiently.
What is the lifespan of a fan capacitor?
A capacitor typically lasts 5 to 10 years, depending on usage and environmental factors.
How much does it cost to replace a fan capacitor?
A replacement capacitor costs $5 to $20, depending on the specifications and brand.
Can I test a capacitor while running?
No, capacitors should be tested when they are disconnected from the power source for safety.
How to test a condenser capacitor with a multimeter?
Set the multimeter to capacitance mode and compare the reading with the rated value.
Why does my fan slow down over time?
A weakening capacitor can cause the fan to run slower than usual. Dust buildup on the fan motor can also contribute to reduced speed.
Can I replace the capacitor with a higher capacitance value?
It is not recommended. Using a capacitor with a higher capacitance can affect the motor’s performance and lifespan.
What happens if I install the capacitor incorrectly?
Incorrect installation can result in the fan not working or the capacitor failing prematurely. Always follow the wiring diagram provided with the fan.
How to test capacitors in circuit
Here’s a step-by-step guide to testing capacitors:
Turn off the power to the circuit and discharge the capacitor using a resistor.
Inspect the capacitor for visible damage, such as bulging or leakage.
Measure capacitance using a digital multimeter (DMM) in capacitance mode, comparing the reading to the rated value.
Measure resistance using the DMM in resistance mode; increasing resistance indicates a healthy capacitor.
Check the voltage rating for AC
capacitors to ensure it matches the application.
For in-circuit testing, use an ESR meter to assess the capacitor’s health.
Conclusion
Testing a fan capacitor is a simple yet essential task for troubleshooting fan issues. By following the correct steps, you can diagnose and replace a faulty capacitor, restoring your fan’s efficiency.
Regular maintenance and timely replacements can help extend the life of your fan motor. Want to learn more about electrical repairs? Stay tuned for more insightful guides!
Also Read :
How to Test a Capacitor – A Step-by-Step Guide 2025
Different Types of Capacitors – A Complete Guide – it’s uses and applications
